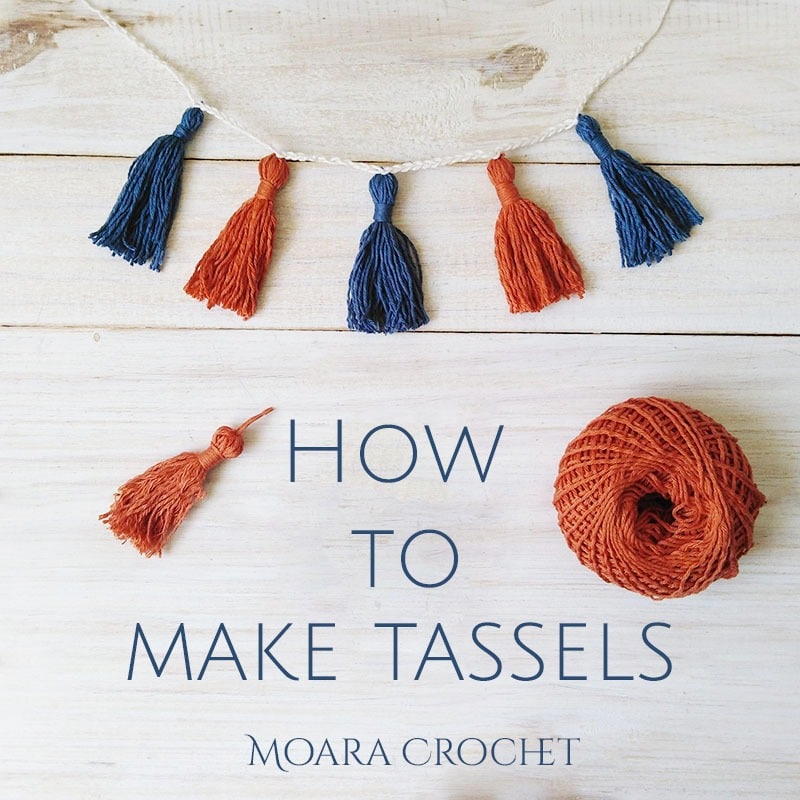
Learn how to make tassels in a few simple steps. I love to add tassels to a lot of my crochet garment’s, I find they finish off a item just right for me. Plus they help to tie & untie my strings. Tassels are so easy to make & you can make them in any yarn or string you like so the colour, texture, size variety are endless. You can add them to clothing, bedding, earring’s or make them as a key ring or add them as a pretty addition to the top of a wrapped gift.

My simple step by step written photo tutorial is below or if you prefer a video tutorial, I have also made a Youtube video.
Notes
- For the example I have shown you how to make tassels the length of your hand but you can make them to any length you wish, wrap around 2 fingers for smaller tassels are cut out a piece of card to the length of your choice & wrap it around the length you desire.
- To create a fuller tassel, simply wrap the yarn more times.
- Can be made in any yarn of your choice. I like to make mine with ply yarn twisted together so I can unravel the plys & create full tassels from less wraps per hand.

How to make Tassels
Step 1: Cut a piece of yarn 15-20 cm long, place this along the horizontally over the top hand running from the base between your thumb and first finger join, along to the tip of your index finger. Secure with your fingers (this is a little tricky & the string may fall, don’t worry it does not need to be perfect it is just to ensure the top tie of your tassel is near the top, you can rearrange this later if it does slip).
Step 2: With the tale of your yarn at the base of your baby finger wrap your yarn around your hand from fron to back and back around 20-25 times.

Step 3: Remove your fingers from the centre of the yarn, using the first string along the top of your index finger, tie this tightly to secure all the threads together.

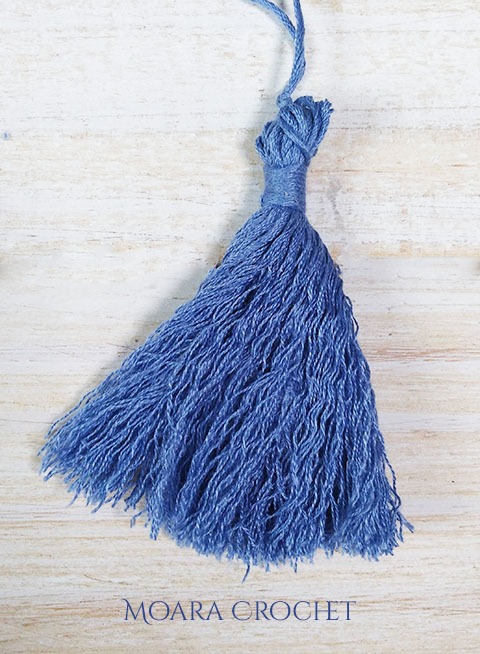
Step 4: Leave a 30cm tail before cutting the yarn. Pinch 2cm below the top tie of your tassel, using your long tail wrap the yarn tightly & evenly around the tassel, repeat this 8-10 times aligning your wraps below the previous wrap. Once you have wrapped to your desired amount, thread the tail onto a tapestry needle, place the needle under & out of the first wrap, make a knot. Push your needle back under all the wraps up to the top & pull tightly, this will pull the knot you just made under your wraps to be hidden. Push your needle over the first wrap to secure down to the tassel ends. Your tassel will be firmly secured with no worry of it unravelling.

Step 5: Cut the folds of the bottom of your tassel and cut evenly across. If you wish you can unravel the threads as I have below to create a fuller tassel.
A few simple steps & you have made your own tassels. Now it’s up to your own creativity to put them to good use! Sew them to the end of blanket to create a Moroccan effect throw, add them to ties to your clothing or make tassel bunting to add a splash of colour to your room.

Congratulations you have made your own Yarn Tassels, I would love to see you crochet creation’s, please tag me on @moara_crochet on Instagram to share your work.

WANT TO SAVE HOW TO MAKE YOUR OWN TASSELS?
PIN IT TO YOUR CROCHET OR CRAFT BOARD TO SAVE FOR LATER!


FIND ME ON