What You’ll Learn
- How to create a seamless transition between rows when not changing colour
- How to crochet a classic granny square step by step
- How to create an invisible join
- How to offset your rows to remove the visible join line
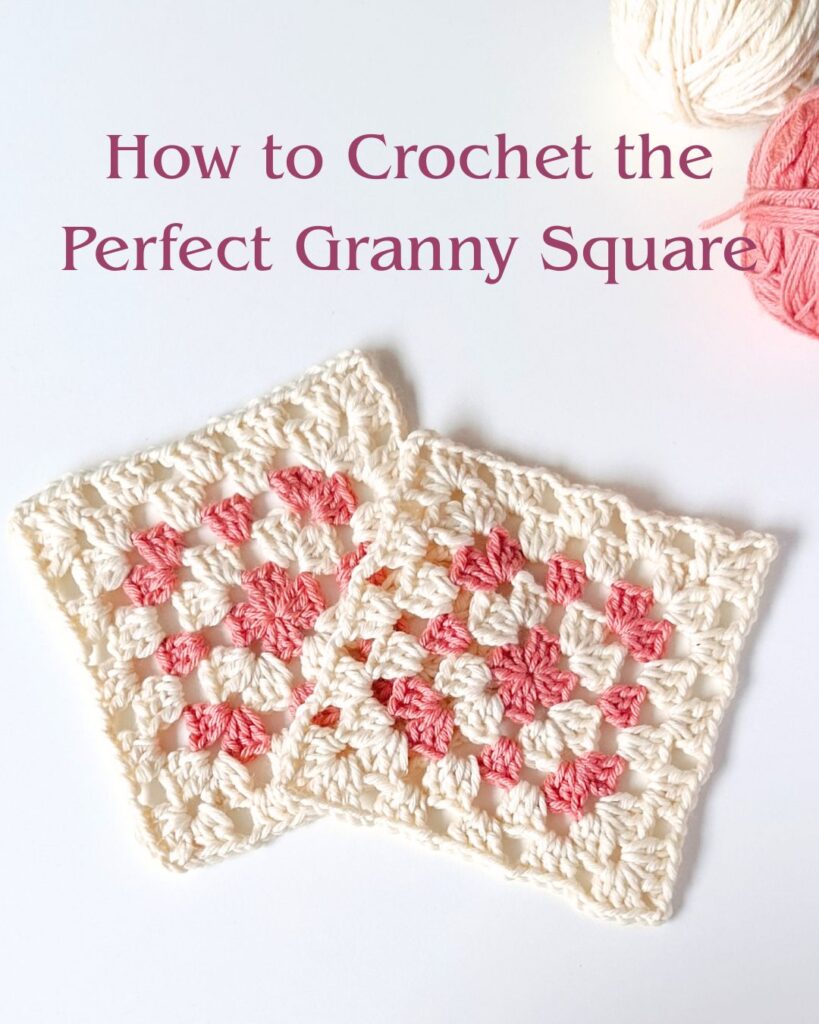
My free How to Crochet a Perfect Granny Square (3 Easy Tips for Beginners) pattern is written below with a simple step by step written photo tutorial or if you prefer a video tutorial, I have also made a Youtube video.
Materials
- Yarn of your choice. Any weight.
- Contrasting Coloured Yarn
- Matching sized crochet hook for your yarn.
- Scissors
- Tapestry Needle
Gauge: N/A
Size: Depends on your yarn and hook.
Notes: The Granny Square is worked in the round. There is a clear FRONT and Back
Crochet Stitches
To make my crochet Granny Square, you will be using a few crochet stitches including: Magic circle, Double Crochet (dc), Chain (ch), Slip Stitch (slst).
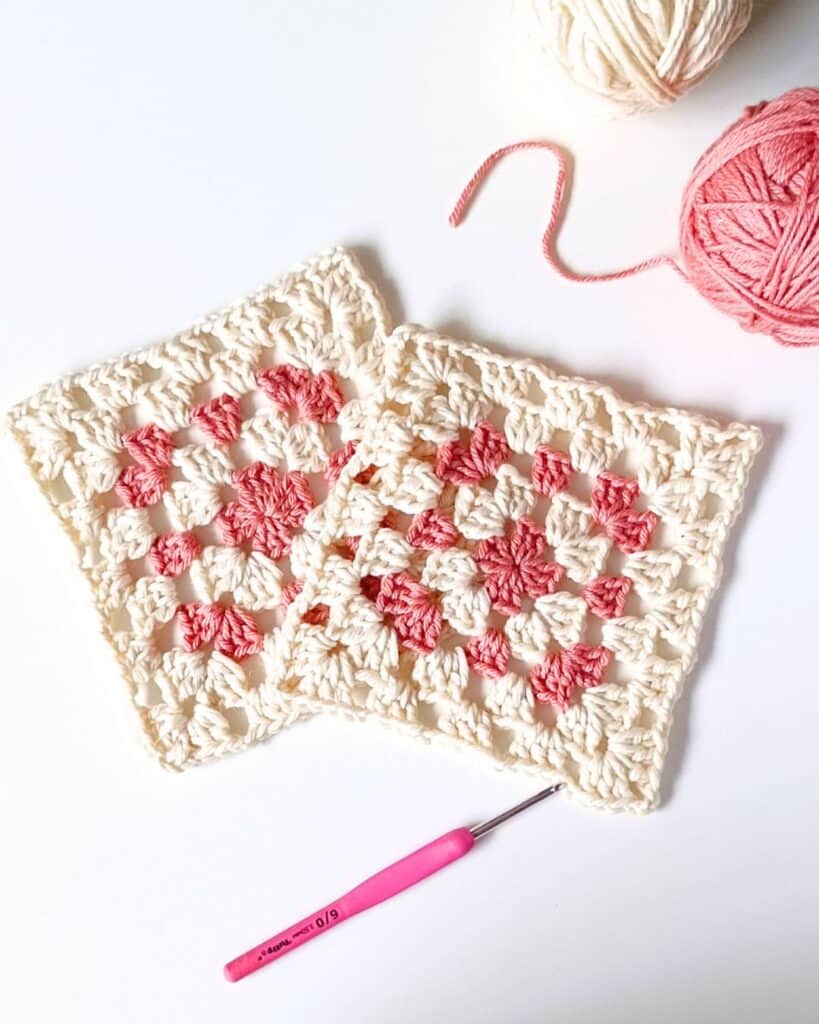
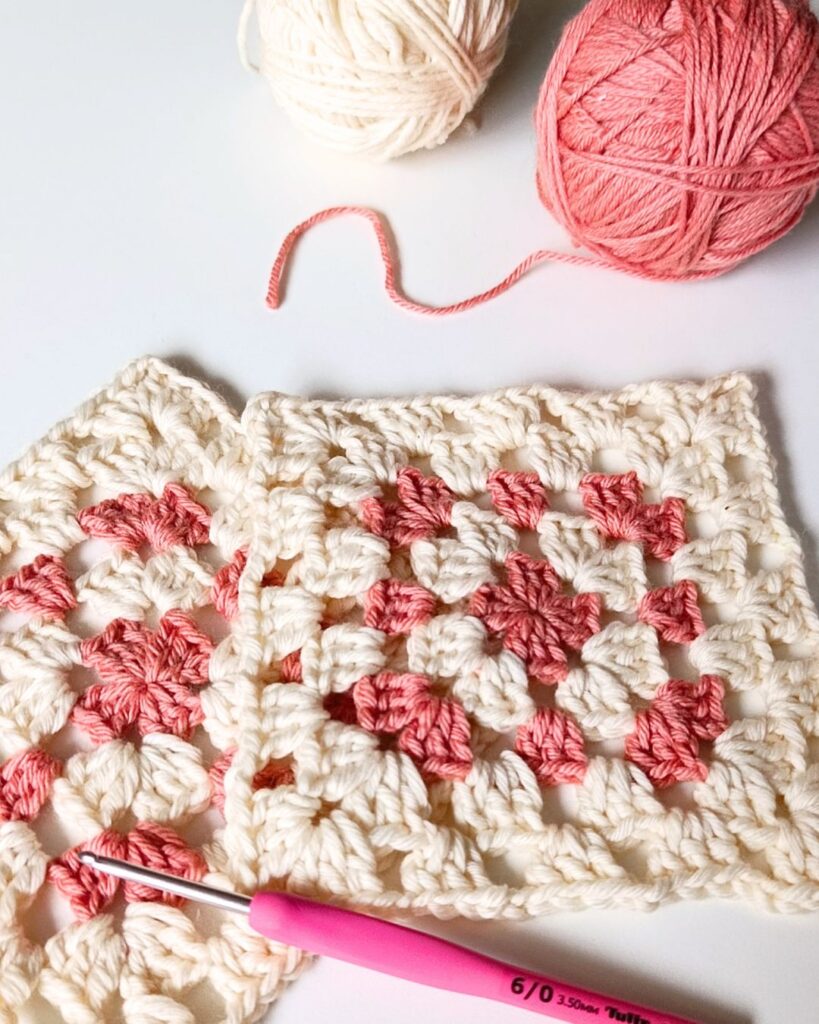
How to make a Crochet Granny Square
Row 1: Make a magic cirlce, Chain 3 (count as dc), add 2dc into the center of the magic cirlce, *(ch3, 3dc) into the magic circle* repeat * to * 3 more times, chain 2, cut yarn leaving a 10 cm tail, sew with invisable join – see this technique on Youtube video above. Fasten off & weave in your ends.
Row 2: ATTACH NEW YARN TO THE NEXT CORNER. Chain 3 (count as dc), 2dc in the same ch-sp *chain 2, skip 3 sts, (3dc, ch3, 3dc) in the ch3-sp
repeat * to * 2 more times, chain 2, skip 3 sts, (3dc, ch2) into the first ch3-sp, cut yarn leaving a 10cm tail, sew with invisable join. Fasten off & weave in your ends.
Row 3: ATTACH NEW YARN TO THE NEXT CORNER. Chain 3 (count as dc), 2dc in the same ch-sp *ch 2, skip 3 sts, 3dc in ch2-sp, ch-2, skip 3 sts, (3dc, ch3, 3dc) in the ch3-sp repeat * to * 2 more times, chain 2, skip 3 sts, 3dc in ch2-sp, skip 3 sts, (3dc, ch2) into the first ch3-sp, cut yarn leaving a 10cm tail, sew with invisable join. Fasten off & weave in your ends.
Row 4: ATTACH NEW YARN TO THE NEXT CORNER. Chain 3 (count as dc), 2dc in the same ch-sp *chain 2, sk3, 3dc in ch2-sp, ch2, sk 3, 3dc in ch2-sp, ch2, sk 3 (3dc, ch3, 3dc) in the ch3-sp repeat * to * 2 more times, chain 2, sk 3 sts, 3dc in ch2-sp, ch2, sk 3 sts, 3dc in ch2-sp, ch2, sk 3 sts, 3dc into the first ch3-sp, chain 1, hdc (count as ch2) into the first chain 3. Now your yarn is in the middle of the ‘ch3’ to start the next row.
Row 5: Chain 3 (count as dc), 2dc in the same ch-sp *ch2, sk3, 3dc, ch2, sk 3, 3dc, ch2, sk 3, 3dc, ch2, sk 3, (3dc, ch3, 3dc) in the ch3-sp repeat * to * 2 more times, ch2, sk 3 sts, 3dc, ch2, sk 3 sts, 3dc, ch2, sk 3 sts, 3dc, ch2, sk 3 sts, 3dc into the first ch3-sp, chain 2, cut yarn leaving a 10cm tail, sew with invisable join. Fasten off & weave in your ends.
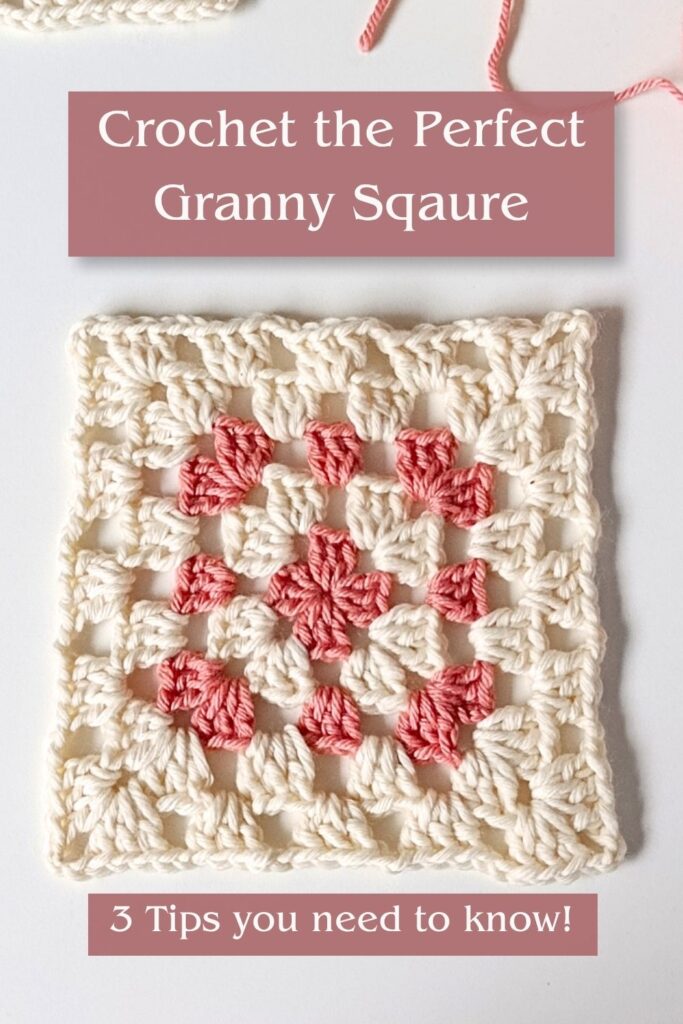
Tip 1: Use an Invisible Join
Instead of finishing your round with a slip stitch, use an invisible join. This creates a much cleaner finish and removes the obvious “step” at the end of your round—perfect for polished, professional-looking squares.
Tip 2: Offset Your Rows
One of the biggest giveaways in a granny square is the visible join line running up one side. By slightly offsetting where you start each round, you can distribute that join so it becomes almost invisible. This simple adjustment makes your square look more balanced and seamless.
Tip 3: Create a Seamless Transition
If you’re working in one colour, you don’t need to “restart” each round in the usual way. By adjusting just one stitch at the beginning of the round, you can create a smooth transition with no obvious starting point. It’s a small change—but it makes a big difference.
These techniques are the same ones I use when designing crochet garments, where a clean finish really matters. They help elevate your crochet from “handmade” to refined and wearable—without adding complexity.
Once you’ve mastered your granny square, you can use it to create beautiful projects like blankets, bags, or garments. One of my favourite designs using these techniques is the Crochet Cottage Garden Blanket.
If you’ve ever felt frustrated with uneven or wonky granny squares, I hope these tips help you feel more confident in your crochet. Small changes really do make the biggest difference. Let me know in the comments.
Which tip made the biggest difference for you?
I would love to see you crochet creations, please tag me on @moara_crochet on Instagram to share your work.

WANT TO MAKE MY FREE CROCHET GRANNY SQUARE PATTERN?
PIN IT TO YOUR CROCHET OR CRAFT BOARD TO SAVE FOR LATER!
FIND ME ON
FOR MORE FREE CROCHET PATTERNS!