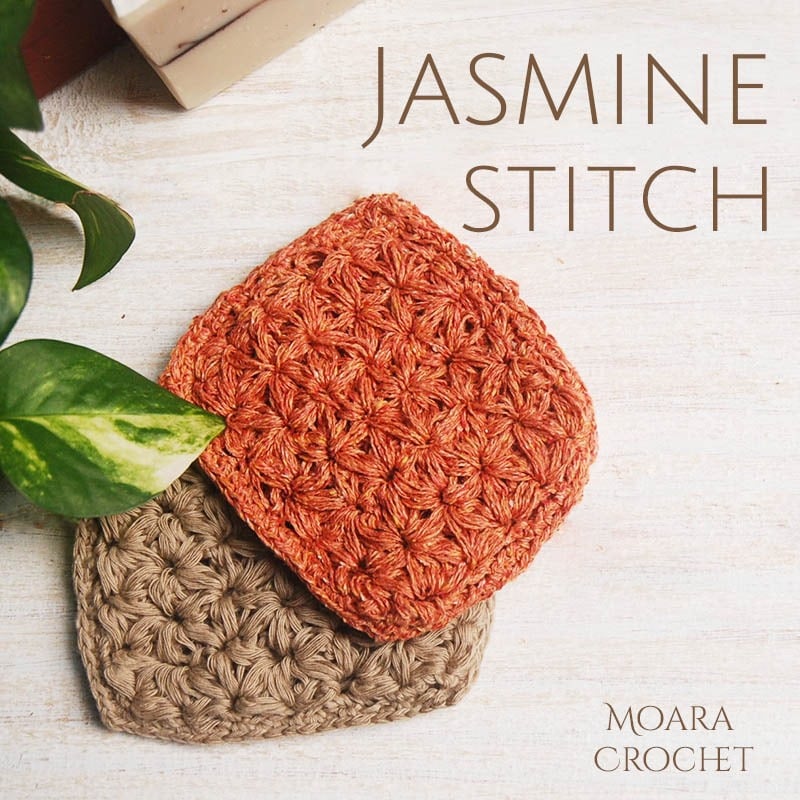
Learn how to crochet Jasmine Stitch step by step with both my written photo tutorial & Youtube demo. As the names suggests this stitch creates Jasmine like blooms throughout the fabric which are gorgeous. This is a more advanced crochet stitch which will take a little time & patients but the end result is worth the time. Once you can crochet Jasmine stitch you can create the most beautiful scarves & hats. I have also created a FREE CROCHET pattern to practice your new stitch.
My simple step by step written photo tutorial is below or if you prefer a video tutorial, I have also made a Youtube video.
Notes
- The Crochet Jasmine stitch is created from groups of puff stitches clustered together. The flower formation is formed from 2 rows.
- In my example I show how to create Jasmine stitch starting with a puff foundation row.
- This stitch may seem a little complicated at first but once you work out the pattern it will be worth the investment of time! Have fun.

How to Crochet Jasmine Stitch
Puff Stitch Foundation Chain
Step 1: Start with a slip knot on your hook. Chain one elongate the chain to 2cm (as shown in photo 1), yarn over insert into first chain, pick up yarn, pull through = 3 loops on your hook, yarn over insert into first chain, pick up yarn = 5 loops on your hook (as shown the second photo).


Step 2: Hold your working yarn at the base near the first chain, yarn over, pick up yarn (as shown in the first photo), pull through all 5 loops on your hook, keeping hold of the working yarn, insert hook under the loop you are holding and pick up the yarn, let go of the working yarn, now you will have 2 loops on your hook (as shown in the second photo).


Step 3: Yarn over, pull through 2 loops on the hook. Your first puff stitch is made.

Step 4: Elongate the chain to 2cm (as shown in photo 1), yarn over insert into sc created from the first puff stitch (as shown in the second photo), pick up yarn, pull through = 3 loops on your hook, yarn over insert into first chain, pick up yarn = 5 loops on your hook, yarn over, pull through 2 loops on the hook.


Step 5: Repeat steps 2 -4 until you reach your desired foundation chain length then add one more puff stitch (this final puff stitch will be your turning stitch).

Row 2
Step 1: Elongate the chain to 2cm, yarn over insert into sc created from the previous puff stitch (shown with an X in the first photo), pick up yarn, pull through = 3 loops on your hook, yarn over insert into first chain, pick up yarn = 5 loops on your hook, yarn over insert onto the next sc on the foundation chain (as shown with an X in the second photo), pick up yarn, pull through = 7 loops on the hook, yarn over, pick up yarn, pull through = 9 loops on the hook.


Step 2: Hold your working yarn at the base near the first chain, yarn over, pick up yarn (as shown in the first photo), pull through all 9 loops on your hook, keeping hold of the working yarn, insert hook under the loop you are holding and pick up the yarn, let go of the working yarn, now you will have 2 loops on your hook, yarn over, pull through 2 loops on the hook. Your first puff stitch is made for row 2 as shown in the first photo, this is combination of 2 puff stitches together as shown in the second photo (this is the same photo with markings to illustrate your work).


Step 3: Elongate the chain to 2cm, yarn over insert into sc created from the previous puff stitch (shown with an X in the first photo), pick up yarn, pull through = 3 loops on your hook, yarn over insert into first chain, pick up yarn = 5 loops on your hook,


yarn over insert onto the next sc on the foundation chain (as shown with an X in the second photo), pick up yarn, pull through = 7 loops on the hook, yarn over, pick up yarn, pull through = 9 loops on the hook, yarn over insert onto the next sc on the foundation chain, pick up yarn, pull through = 9 loops on the hook, yarn over, pick up yarn, pull through = 13 loops on the hook,


Step 4: Hold your working yarn at the base near the first chain, yarn over, pick up yarn (as shown in the first photo), pull through all 13 loops on your hook, keeping hold of the working yarn, insert hook under the loop you are holding and pick up the yarn, let go of the working yarn, now you will have 2 loops on your hook, yarn over, pull through 2 loops on the hook. Your first puff stitch is made for row 2 as shown in the first photo, this is combination of 3 puff stitches together as shown in the second photo (this is the same photo with markings to illustrate your work).


Step 5: Repeat steps 3 -4 until you reach the end of your row. TURN.

Row 3 – All rows will continue as this one
Step 1: Each row will start with a single puff stitch which will be your heightening stitch. Chain one elongate the chain to 2cm (as shown in photo 1), yarn over insert into first chain, pick up yarn, pull through = 3 loops on your hook, yarn over insert into first chain, pick up yarn = 5 loops on your hook, Hold your working yarn at the base near the first chain, yarn over, pick up yarn (as shown in the first photo), pull through all 5 loops on your hook, keeping hold of the working yarn, insert hook under the loop you are holding and pick up the yarn, let go of the working yarn, now you will have 2 loops on your hook, yarn over, pull through 2 loops on the hook. Your first puff stitch is made (as shown the second photo).


Step 2: Elongate the chain to 2cm, yarn over insert into sc created from the new puff stitch made in step 1, pick up yarn, pull through = 3 loops on your hook, yarn over insert into first chain, pick up yarn = 5 loops on your hook (as shown in photo 1), yarn over insert onto the sc at the base of the heightening puff (as shown with an X in the second photo), pick up yarn, pull through = 7 loops on the hook, yarn over, pick up yarn, pull through = 9 loops on the hook, yarn over insert onto the next sc on the previous row (as shown with an X in the second photo), pick up yarn, pull through = 9 loops on the hook, yarn over, pick up yarn, pull through = 13 loops on the hook,


Step 3: Hold your working yarn at the base near the first chain, yarn over, pick up yarn (as shown in the first photo), pull through all 13 loops on your hook, keeping hold of the working yarn, insert hook under the loop you are holding and pick up the yarn, let go of the working yarn, now you will have 2 loops on your hook, yarn over, pull through 2 loops on the hook. Your first puff stitch is a combination of 3 puff stitches together as shown in the photo.

Step 4: Repeat steps 2 & 3 until you reach the end of your row. TURN.

Ready to put your new crochet stitch to the test? Try my FREE Crochet Dish Cloth pattern.

Congratulations you have mastered the Crochet Jamine Stitch, I would love to see you crochet creation’s, please tag me on @moara_crochet on Instagram to share your work.

WANT TO SAVE HOW TO DO A CROCHET JASMINE STITCH?
PIN IT TO YOUR CROCHET OR CRAFT BOARD TO SAVE FOR LATER!


FIND ME ON
