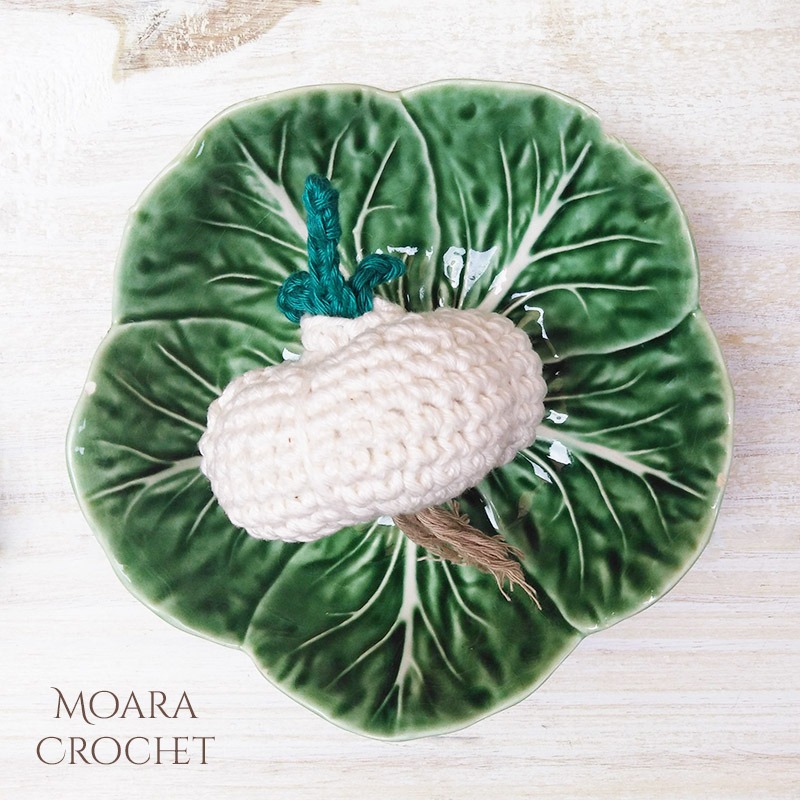
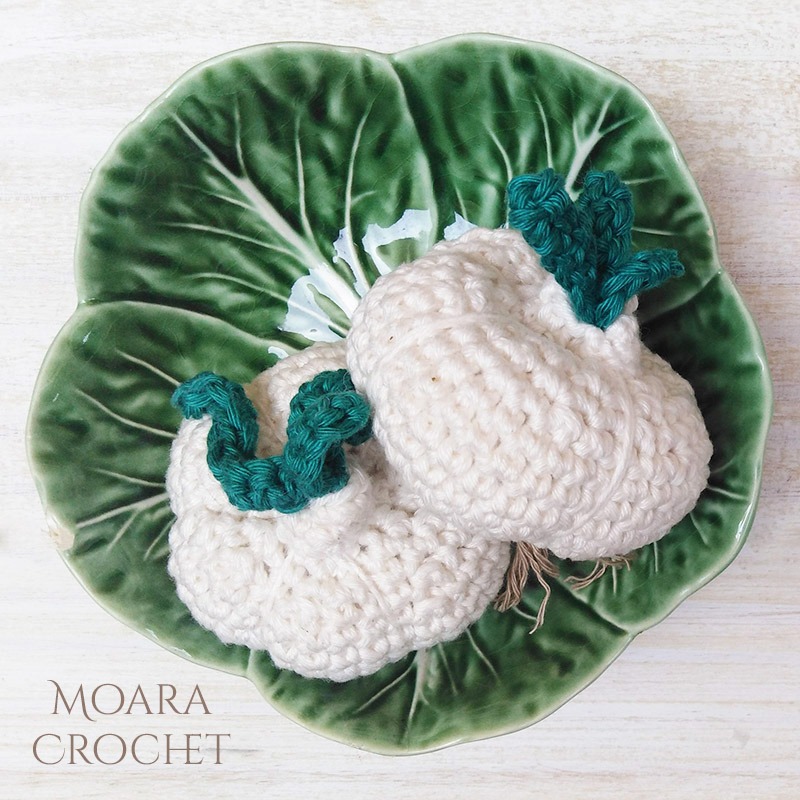
As the harvest season approaches I have made a free Crochet Garlic pattern to help teach your little ones about vegetables. Teaching our little minds about the value of food and how they grow I believe is an important part of their development and understanding of the world.
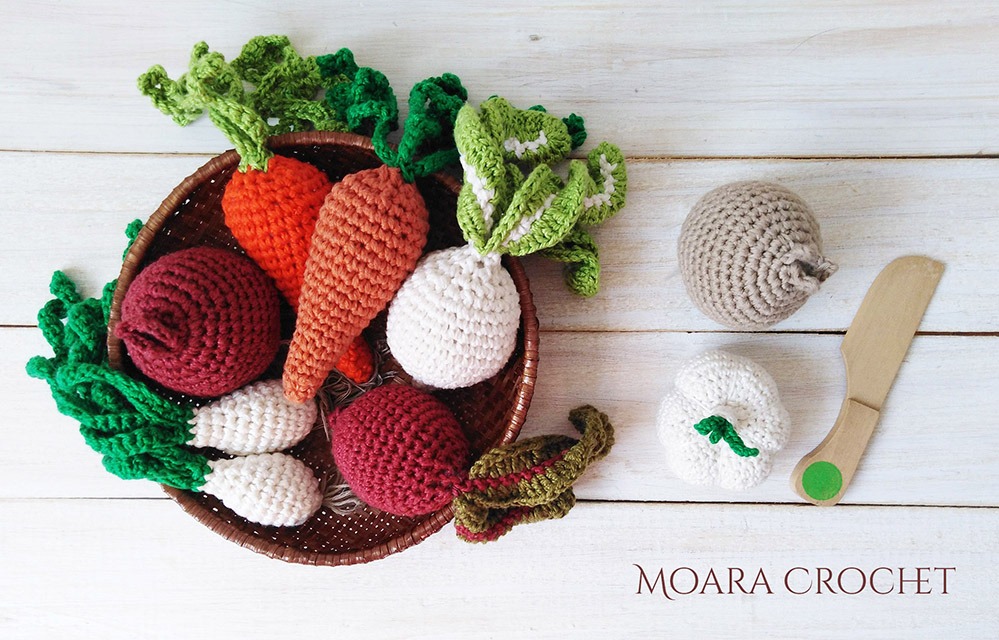
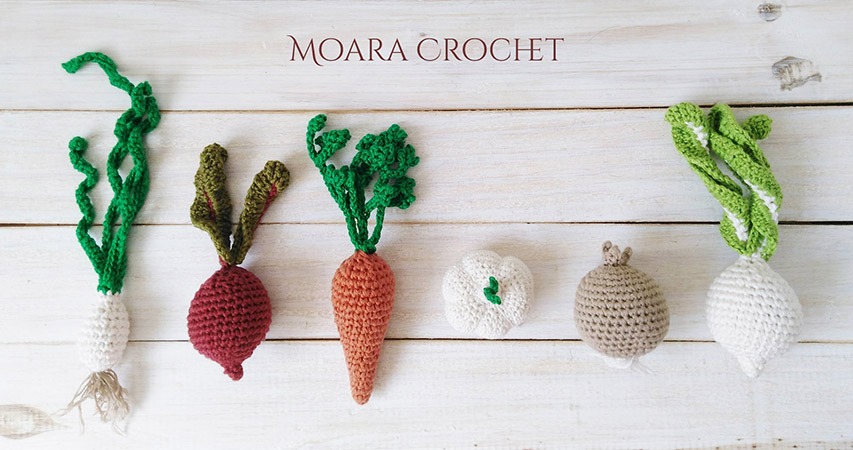
This is one of many crochet vegetable patterns which I have just released including crochet carrot, beetroot, turnip, onion and spring onion. This is my first collection of crochet food & which are all root vegetables. My little one has loved playing with her set as we learnt about farming & I am sure your little ones will love these eco-friendly Montessori crochet toys too!
Crochet Vegetable Patterns available in my ETSY, LOVE CROCHET & RAVELRY store.
My simple step by step written photo tutorial is below or if you prefer a video tutorial, I have also made a Youtube video.
Materials
- 3mm (US D) Crochet hook
- 50 meters DK cotton yarn (white)
- 20 meters DK cotton yarn (brown)
- 10 meters of DK cotton yarn (green)
- Yarn needle
- Scissors
- Stuffing
Gauge: 16st x 18 rows using sc over 10 x 10cms. Using the smallest crochet hook you can with your chosen yarn to create tight stitches, this will help your garlic keep its shape.
Size: Bulb: 5cm long, 7.5cm width at widest point. Garlic length including foliage: 10cm.
Notes: The roots of the garlic are made first then inserted into the magic circle created in round 1. The garlic is worked in a continuous spiral, I would recommend to use a stitch marker to help with the number count. ALL SC DEC. SHOULD BE MADE IN THE FRONT LOOPS ONLY TO PREVENT GAPS. Next the foliage will be attached to the central hole created from the bulb.
Crochet Garlic Pattern
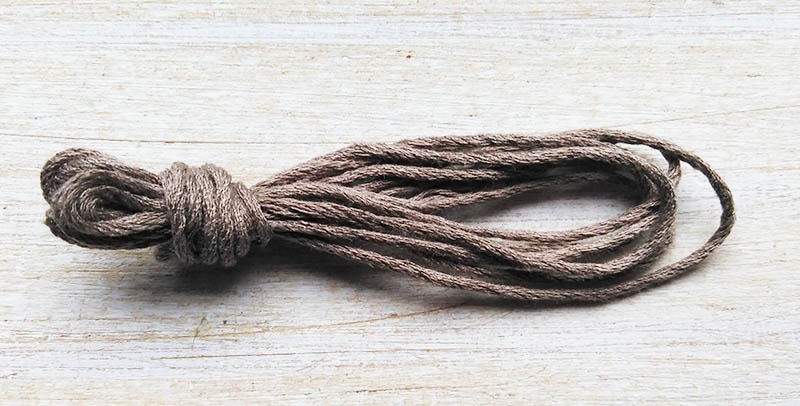
Roots
Wrap the root coloured yarn loosely over your hand to create 5 rounds of yarn 15cm long.
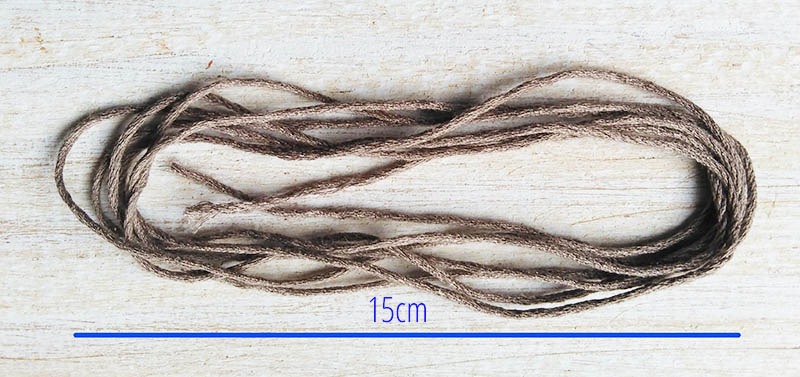
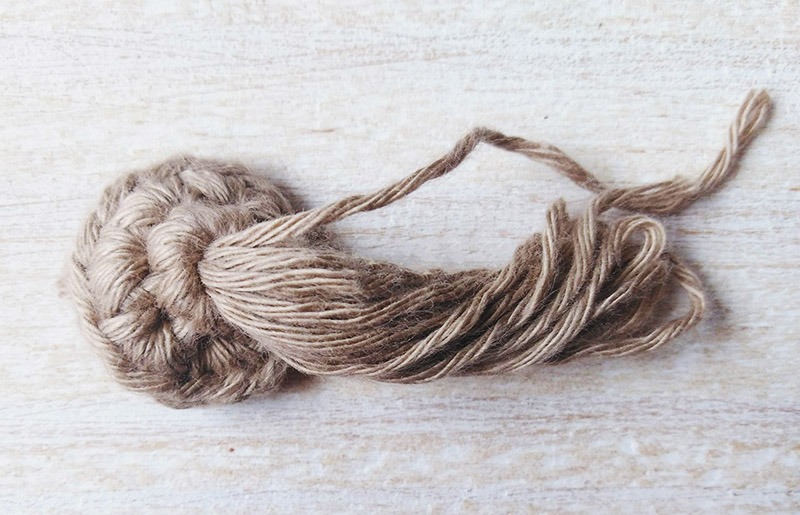
Loop the top half & make a tight knot.
Bulb
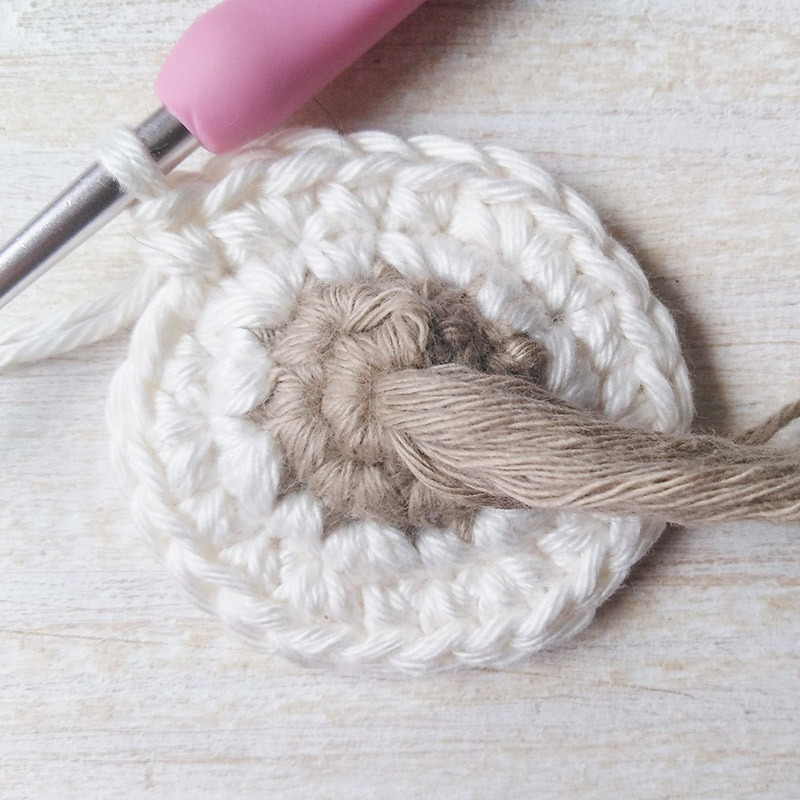
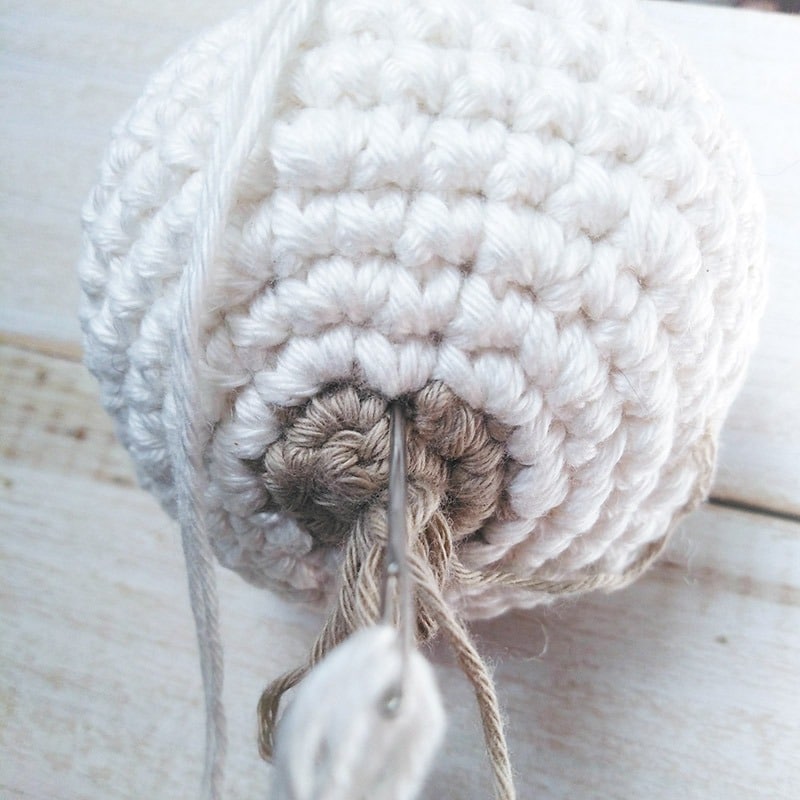
Row 1 (brown yarn): Make a magic circle. Ch, 6sc into centre of the magic ring, insert the roots into the centre with the knot on the inside (as shown in the photo below), close the circle tight, this will secure the root knot inside the bulb. Total: 6sc.
Row 2: Sc inc. in each stitch. Total: 12sc. Fasten off & weave in your ends.
Row 3 Attach white yarn: *sc, sc inc.* repeat * 5 times. Total: 18sc.
Row 4: *sc, sc inc., sc* repeat * 5 times. Total: 24sc.
Row 5: *3sc, sc inc.* repeat * 5 times. Total: 30sc.
Row 6: *2sc, sc inc., 2sc* repeat * 5 times. Total: 36sc.
Rows 7-11: 36sc. Total: 36sc.

Row 12: *2sc, sc dec. (IN FRONT LOOPS ONLY), 2sc* repeat * 5 times. Total: 30sc.
Row 13: *3sc, sc dec.* repeat * 5 times. Total: 24sc.
Row 14: *sc, sc dec., sc* repeat * 5 times. Total: 18sc.
Row 15: *sc, sc dec.* repeat * 5 times. Total: 12sc.
Stop & stuff your garlic now before your final section.
Row 16: *sc, sc dec.* repeat * 3 times. Total: 9sc
Rows 17-18: 9sc. Total: 9sc. Fasten off & leave a long tail of 50cm.
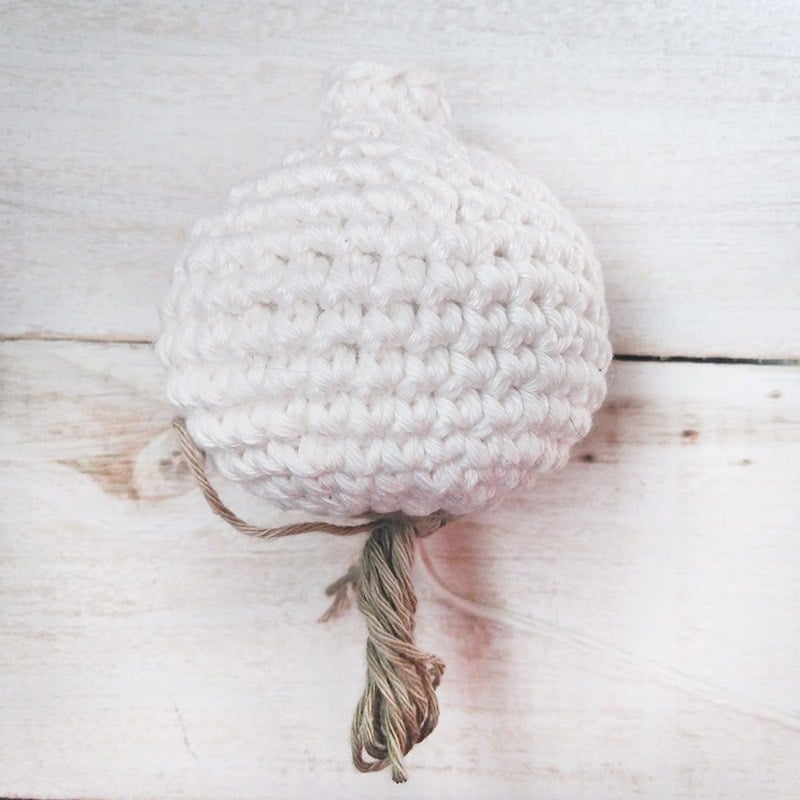
Thread the tail onto a tapestry needle and insert the needle just below the neck of the bulb (as shown in the photo), re-insert the needle at row 3 (as shown below) push the needle back up to the neck a few stitches from your first stitch, pull your thread tight to create a line in the bulb.
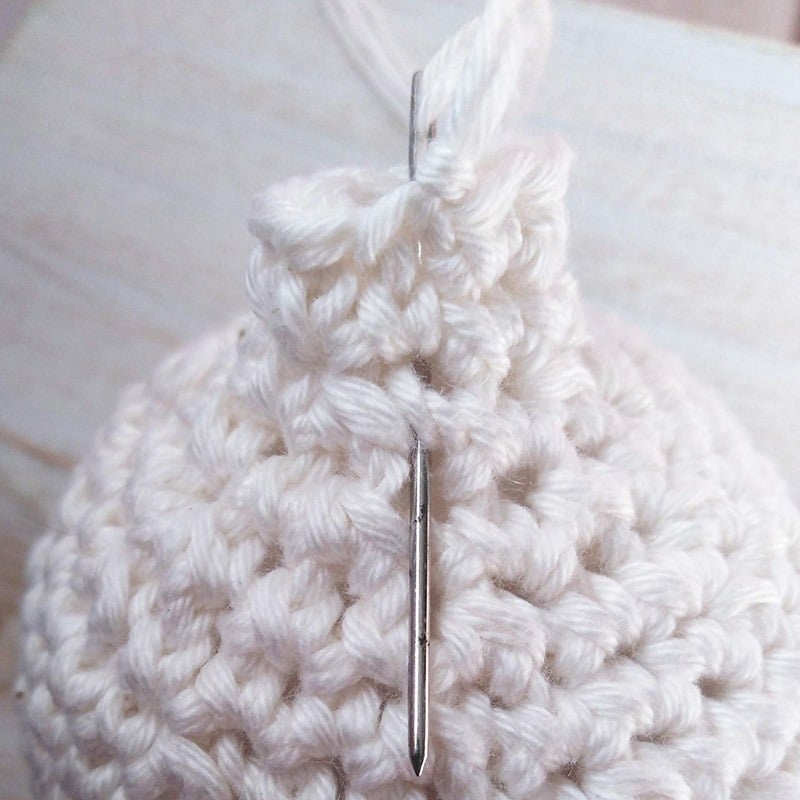
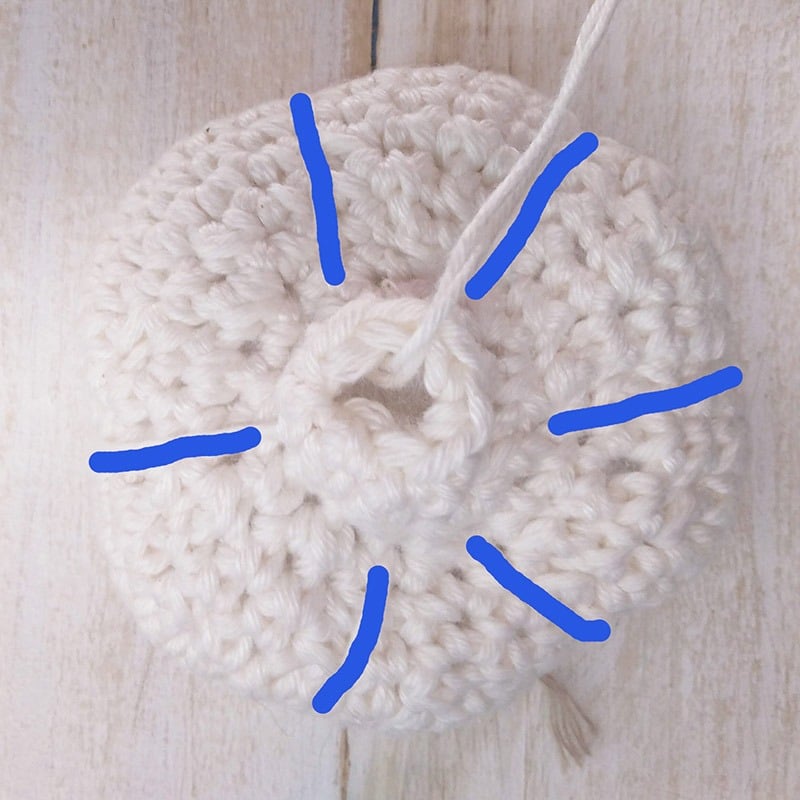
Continue threading the tail from the top to the bottom and reverse, pulling tight after each stitch to create a bulb with 6 in total.
Do not fasten off as we will use the remaining tail to attach the central leaves.
Foliage
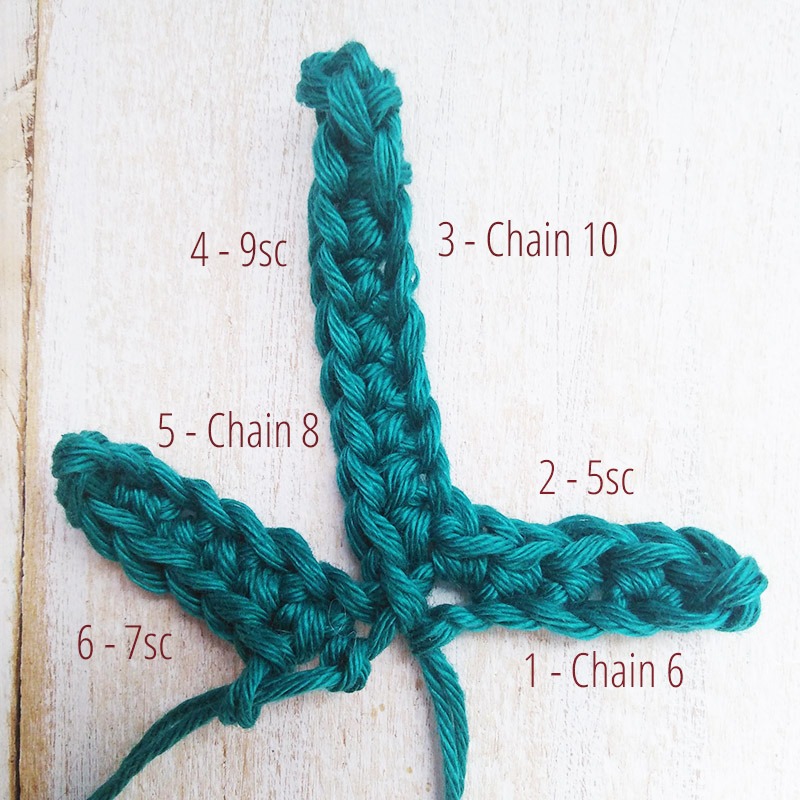
Step 1 Green Yarn: Chain 6, sc in the second from the hook, 4sc. Total: 5sc
Step 2: Chain 10, sc in the second from the hook, 8sc. Total: 9sc.
Step 3: Chain 8, sc in the second from the hook, 6sc. Total: 7sc. Fasten off leaving a 20cm tail.
Step 4: Fold your leaves with the wrong side facing inwards, thread the tail onto a tapestry needle and secure creating a little bloom. Fasten off & weave in your ends.
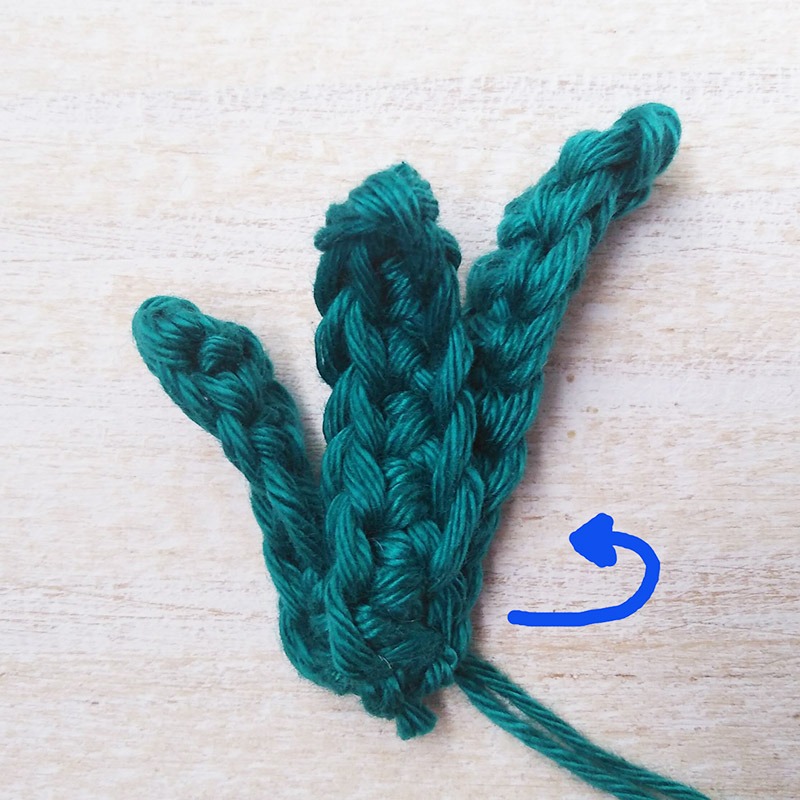
Place the foliage in the central opening of th bulb and secure in place with the tail from the bulb. Fasten off and weave in your ends.
Congratulations you have made your own Crochet Garlic, I would love to see you crochet creation’s, please tag me on @moara_crochet on Instagram to share your work.

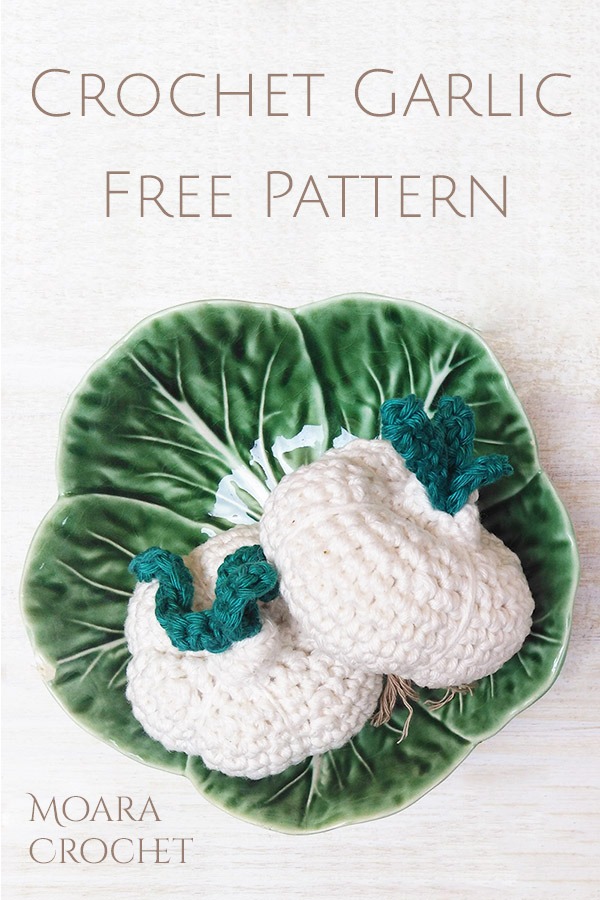
WANT TO SAVE HOW TO MAKE MY CROCHET GARLIC?
PIN IT TO YOUR CROCHET OR CRAFT BOARD TO SAVE FOR LATER!

FIND ME ON

FOR MORE FREE CROCHET PATTERNS!
Nice work
Pingback: Straight from the Garden Amigurumi – 1001 Patterns