Knowing how to surface crochet will enable you to add extra texture & detail to your crochet work. Use an alternative colour in a complimentary or constrating tone. To add a pop of colour to my butterfly I have used bright colours against the green of the wings. The Very Hungry Caterpillar Life Cycle pattern available here.

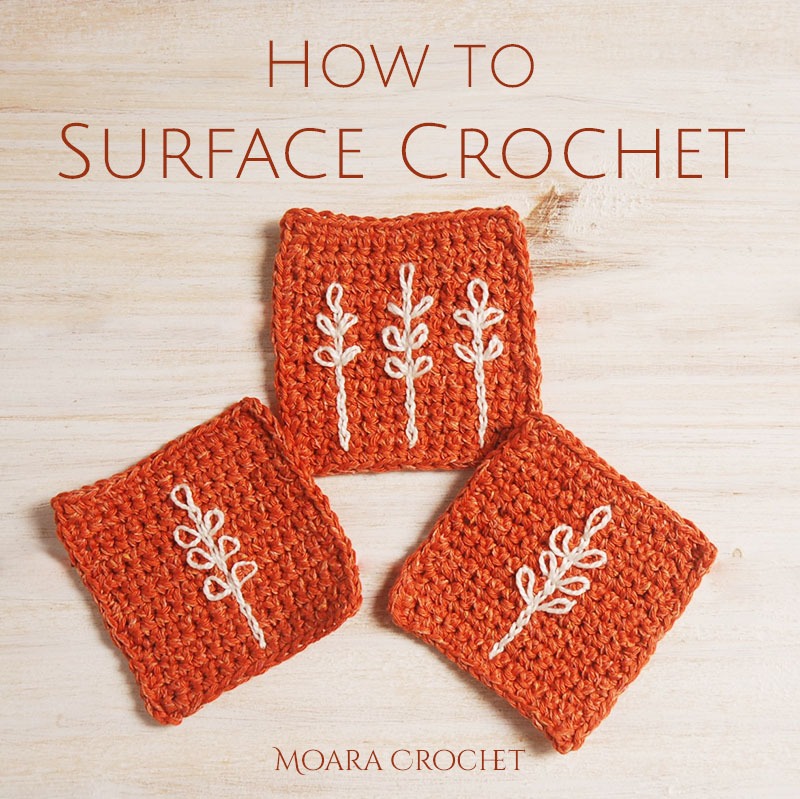
Or my favourite is to use a contrasting yarn fiber to create a variety of texture within my crochet work. I like to mix rustic raw yarns such as Ito’s Kinu silk with traditional mercerized cotton yarn to create a variety in texture. For this tutorial I am going to show you how to add surface crochet to my FREE CROCHET COASTER pattern, which has the addition of a few Lazy Daisy Stitches. If you would like to try this free crochet pattern click on any image.

This is the part of a series of free crochet tutorials, if you would like to improve your crochet skills click below to access my other Crochet Stitch Tutorials.
Written below with a simple step by step written photo tutorial or if you prefer a video tutorial, I have also made a Youtube video.
Materials
- Yarn of your choice
- Crochet piece to add surface crochet
- Crochet hook to match your chosen yarn size
- Yarn needle
- Scissors
How to Surface Crochet
Step 1: Insert the hook from the front of your work to the back of it where you would like to start.

Step 2: Tie the yarn onto the hook (you can skip this step if you wish but it adds security & ease to beginning your surface crochet).

Step 3: Pull up a loop. Bring the hook back through to the front of your work. Both the tail and working side of the yarn should still be behind the work.

Step 4: Insert the hook into your next desired space depending on your chosen design. Poke the tip of the hook into the next stitch, space, or row.

Step 5: Yarn over. Wrap the yarn around the hook from behind your work.

Step 6: Pull up the loop. Bring the hook and yarn-over back through to the front of your work (2 loops on your hook), Pull the second loop through the first (1 loop on your hook). You have now completed the first surface slip stitch.

Repeat steps 4-6 until you reach your desired design.

Fasten Off: When you reach the end of your design, cut the yarn from behind the work, leaving a 10 cm long tail. Pull the tail through the loop on your hook, attach to a tapestry needle & weave in your ends along the back of your work.

Subscribe to get Free Exclusive Crochet Flower Patterns ( including a written | photo PDf & access to extra Youtube tutorials) , plus other exclusive patterns!

Congratulations you mastered how to Surface Crochet. I would love to see you crochet creations, please tag me on @moara_crochet on Instagram to share your work.

WANT TO SAVE HOW TO SURFACE CROCHET?
PIN IT TO YOUR CROCHET OR CRAFT BOARD TO SAVE FOR LATER!


FIND ME ON

FOR MORE FREE CROCHET PATTERNS!