
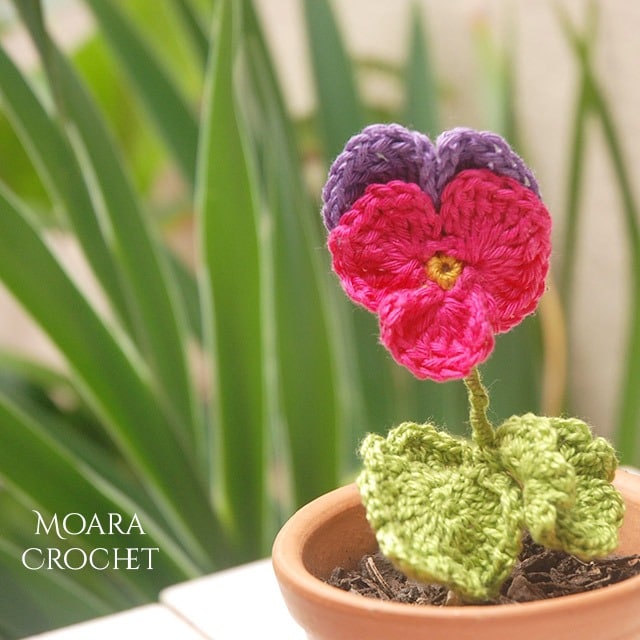
For week 10 I am sharing with you how to make a Crochet Pansy flower. The Pansy is the little flower with the colourful face which come in a huge range of bright beautiful colours, therefore you can use any yarn from your stash to create these little flower gems in just a few minutes.
This is the tenth pattern in a series of FREE CROCHET FLOWER patterns I have & will be sharing with you as many of us stay at home through the coming days & weeks.
My free Crochet Pansy pattern is written below with a simple step by step written photo tutorial or if you prefer a video tutorial, I have also made a Youtube video.
Materials
- 3 meters white yarn
- 2 meters yellow yarn
- 1 meter yellow yarn
- Matching crochet hook to your yarn I have used a 2.5mm
- Yarn needle
- Scissors
- 30cm florist wire
- Wire cutters
Gauge: N/A. Use the smallest crochet hook you can with your chosen yarn to create tight stitches, this will help your petals keep the form & not flop.
Size: For my flower brooch I have used a 1.25mm hook with lace weight yarn creating a flowers 2cm diameter.
Notes: The flower is worked in the round with the front & back petals made separately then stitched together.
Crochet Stitches
To make my crochet Pansy Flower the Treble Crochet (tr) stitch is used.
How to make a Crochet Pansy Flower
Row 1: Yellow yarn. Make a magic circle, ch 1, 6sc into the centre of the magic circle, sl st into the first sc. Fasten off & weave in your ends. Total: 6sc.

Row 2: Attach Coloured yarn Attach yarn to any st, (ch4, 8tr, ch4), sl st into same st, sl st into next st, (ch4, 12tr, ch4), sl st into same st, sl st into next st, (ch4, 8tr, ch4), sl st into same st, sl st into first st. Fasten off & weave in your ends. Total: 3 petals.

Back Petals
Row 1: Contrasting Yarn Make a magic circle, ch 1, 8sc into the centre of the magic circle, sl st into the first sc. Fasten off & weave in your ends. Total: 8sc.
Row 2: Attach yarn to any st, (ch3, 9tr, ch3), sl st into same st, sl st into next st, (ch3, 9tr, ch3), sl st into same st. Fasten off & leave a long tail of 20cm. Total: 2 petals.

Place the back petals slightly above the front petals, using the long tail from the back petals attach the two together (as shown below).


Stem
Step 1: Fold the florist wire in half & insert the ends into the centre foundation circle created from the back flower, pull the wire ends to under the back flower as shown below.

Step 2: Fold the florist wire over to secure your wire in place, twist the wire below the petal until the base. Wrap with florist tape of green yarn of your choice.

Subscribe to get extra Free EXCLUSIVE Crochet Patterns for members only.
Congratulations you have made your Crochet Pansy Flower. I would love to see you crochet creations, please tag me on @moara_crochet on Instagram to share your work.

WANT TO MAKE MY CROCHET PANSY FLOWER?
PIN IT TO YOUR CROCHET OR CRAFT BOARD TO SAVE FOR LATER!


FIND ME ON

Next weeks FREE CROCHET FLOWER Pattern

Hi am I correct in assuming your terminology is US and not UK ? I think the Stitch you demonstrate for Pansy is known a Double Treble in UK.
Love the work
Michelle UK
Pingback: Modèles gratuits de fleurs de pensée au crochet - PDF Kitap İndir
Pingback: Pansy Flower Free Crochet Pattern - My Hub List
Thank you for this beautiful and easy to follow pattern. This is my momma’s favorite flower, she passed last November. I have a daughter and Nephew who are both away from home right now and struggling with the loss of their Oma. I plan on making pocket pansies for them to carry around to remember she is always with them. This one will be perfect.
Your very welcome, thank you for sharing your beautiful story. Love, Roseanna.
Love these made a few together with some of your other flower pattens for a midsummer headband for my niece
I am sure yout headband for your niece looked amazing!
I always love your patterns. They are creative and so different. And I appreciate you are so generous in giving us the pattern.
You are the best.