It is summer so time for a free crochet crop top pattern. This cute little top is designed to curve around your bust and nip in just below your chest with a drawstring tie. The top has a full waist band which you can add fabric to create a longer top or dress as I have done. Plus for those of us with a fuller chest there is the addition of wider band ties around the back. As with all my designs I have used a finer 4ply yarn to keep your top light in weight and against the skin during the hot summer weather.

My free Crochet crop top pattern is written below with a simple step by step written photo tutorial or if you prefer a video tutorial, I have also made a Youtube video. I created the free crochet crop top a few years ago & have transferred the design from my previous website. There are some slight changes to the original instructions from the Youtube video for a better fit.
Materials
- 200-250 meters of 4ply yarn ( I have used silk in the photo example & cotton in the photos)
- 50 meters of 4ply cotton yarn in contrasting yarn if you wish to make your top as the photos.
- 2.5mm (US B/1) crochet hook
- 3.5 mm (US E/4) crochet hook
- Tapestry needle
- Scissors
Gauge: 20sts and 10 rows to measure 10 x 10 (4x4in) over dc sts.
Size: Small: A – Smaller B cup Medium – B-C cup Large – D Cup Extra Large – E cup
Notes: The bust is made first with two cups which are aligned and crocheted together. The trim is added worked in the round followed by the side ties then finished off with the decorative edging.
The photo example shows the crochet crop top in a size large while the Youtube video tutorial shows a size medium. There are a few small alternations to the written pattern as I have revised this pattern since making the video. The photos show me modelling the crochet top with the addition of a fabric skirt in a size medium.

How to make Crochet Crop Top
Bust (make 2)
Ch 3 counts as 1st dc here and throughout
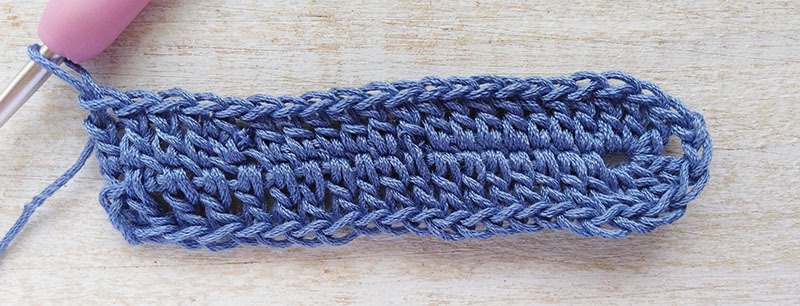
Row 1 – Main yarn colour: Ch 21, dc in 4th chain from the hook, dc each of the next 17 chains, in the last chain (3dc, 2ch, 3dc), turn to work down the other side of the foundation chain, dc in each ch (18dc in total). Turn.

Row. 2: Ch3 (count as 1 dc), 20dc, (2dc, ch2, 2dc) in the ch–2 sp, 21dc. Turn.
Row. 3: Ch3, 22dc, (2dc, ch2, 2dc) in the ch–2 sp, 23dc. Turn.
Row. 4: Ch3, 24dc, (2dc, ch2, 2dc) in the ch–2 sp, 25dc. Turn.
Row. 5: Ch3, 26dc, (2dc, ch2, 2dc) in the ch–2 sp, 27dc. Turn.
Row. 6: Ch3, 28dc, (2dc, ch2, 2dc) in the ch–2 sp, 29dc. Turn. Small size go to Row 10.
Row. 7: Ch3, 30dc, (2dc, ch2, 2dc) in the ch–2 sp, 31dc. Turn. Medium size go to Row 10.
Row. 8: Ch3, 32 dc, (2dc, ch2, 2dc) in the ch–2 sp, 33dc. Turn. Large size go to Row 10.
Row. 9: Ch3, 34 dc, (2dc, ch2, 2dc) in the ch–2 sp, 35dc. Turn. Extra Large.
Row. 10: Ch 4 (count as dc, ch 1), *skip st, dc, ch 1* repeat * 13 (14,15,16) times, skip st, (dc,ch2, dc) in top st. skip 2 sts, *dc, ch 1, skip st, dc, ch 1, skip 2 sts* repeat* 3 times, *dc, ch1, skip st* repeat * 2 (3, 4 ,5) times, skip 2 st, dc in final st.
First side has 15 (16, 17,18) dc,ch 1 repeats the other has 13 (14, 15,16) repeats. This will the outer edge of the bust.

Row. 11: Change yarn if you are changing colour. Ch 4 (count as dc, ch 1), *skip st, dc, ch 1* repeat * to * 10 (11, 12, 13) times, skip st, dc, ch2,( dc, ch2, dc) in top st. ch2, *skip sts, dc, ch 1* repeat * 12 (13, 14,15) times, dc in final st.
Row. 12: Ch4 (count as dc, ch1) ), *skip st, dc, ch 1* repeat * 2 (3, 4, 5) times, dc in next st. Fasten off, leaving a 20cm tail and repeat for the 2nd bust.

Repeat for the second cup. Once both cups are made align the two together at Row 12, using the long tail sc the two together using the stitches from row 12.
( 7sc Small, 9sc Medium, 11sc Large, 13sc Extra Large). Fasten off.

Trim
Connect your yarn to the bottom left corner of the bust, chain 38 (48, 58, 68) sl st into the corner of the bottom right bust. MAKE SURE YOUR FOUNDATIONS CHAIN IS NOT TWISTED. Now you have created a full circle connecting one bust to the other.
Row. 1: Ch3, dc 2 into every now along the bottom bust. Total 60 (68, 76, 84) dc along the front of the bust panel, dc in every ch st, sl st into first dc. Total 98 (116, 136, 152) dc.
Rows. 2-7: Ch3, 97dc (115, 135, 151), sl st into first dc. Total 98 (116, 136, 152) dc. (If you would like to change colour yarn, fasten off & weave in your ends after row 7, attach new yarn at the same point).
Row. 8: Ch4 (count as dc, ch 1), *skip st, dc, ch 1* repeat * to * 48 (57, 68, 75) times, dc in final st, sl st into first dc.
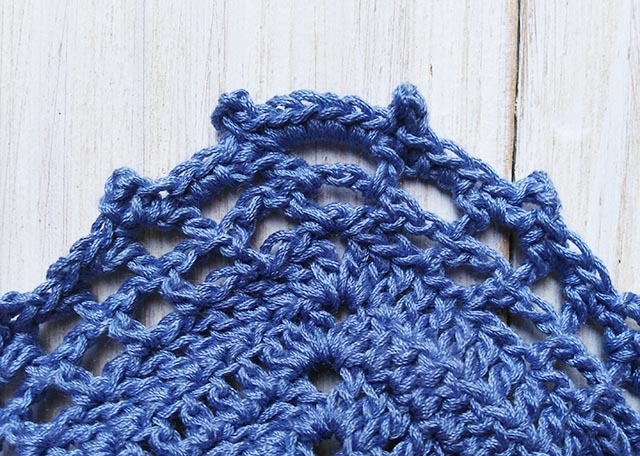
Row. 9: Ch1, *2sc in fist ch-sp, skip st, (sc, picot, sc) in next ch sp, skip st* repeat all the way around sl st into first sc. Fasten off & weave in ends.

Side Ties
Connect your yarn to the bottom left corner of the bust, where the bottom trim meets the side of the last row of the bust. Now you will work up side of the bust.
Row. 1: Ch3 (count as dc), 9dc. Turn. Total: 10dc.
Row. 2: Ch3, 9dc. Total: 10dc.Turn.
Row. 3: Ch3, 7dc, dc dec. Turn. Total: 9dc.
Row. 4: Ch3, 8dc. Total: 9dc.Turn.
Row. 5: Ch3, 6dc, dc dec. Turn. Total: 8dc.
Row. 6: Ch3, 7dc. Total: 8dc.Turn.
Row. 7: Ch3, 5dc, dc dec. Turn. Total: 7dc.
Row. 8: Ch3, 6dc. Total: 7dc.Turn.
Row. 9: Ch3, 4dc, dc dec. Turn. Total: 6dc.
Row. 10: Ch3, 5dc. Total: 6dc.Turn.
Row. 11: Ch3, 3dc, dc dec. Turn. Total: 5dc.
Row. 12: Ch3, 4dc. Total: 5dc.Turn.
Row. 13: Ch3, 2dc, dc dec. Turn. Total: 4dc.
Row. 14: Ch3, 3dc. Total: 4dc.Turn.
Row. 15: Ch3, dc, dc dec. Turn. Total: 3dc.
Rows. 16 – 24: Ch3, 2dc. Total: 3dc.Turn.
Row. 25: Ch1, sc in the same stitch, 2sc. Total: 3sc. fasten off & weave in your ends. Repeat for the other side.

Bust Edging
Row. 1: Change to contrasting yarn if you wish. Ch1, *2sc in fist ch-sp, skip st, (sc, picot, sc) in next ch sp, skip st* repeat up to the top of the bust tip, 4sc in the top ch-sp then continue the pattern down the bust. Continue around the left bust in the same way. Fasten off & weave in ends.

Ties
Using 3.5 mm hook double yarn to create thicker yarn.
Ch 188. Fasten off. Make 2, fold the ties in half and pull the loop through the bust tips. Double ties the ends in the knot to secure.
Ch 200. Fasten off. Weave in and out of row 1 of the trim under the bust all the way around the top. If you wish you can add beads or make some tassels as I have for decoration.

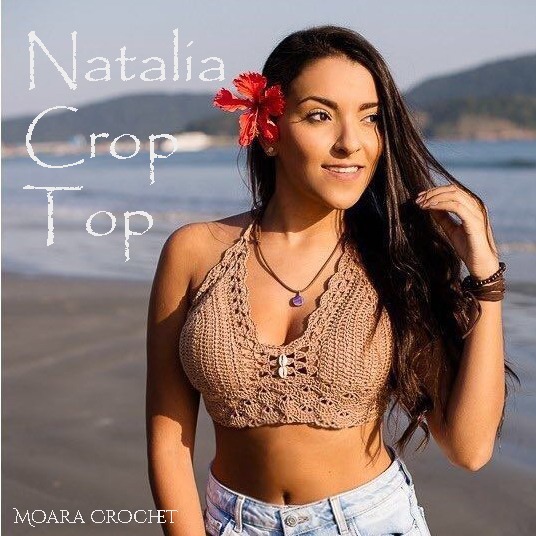
I hope your liked my free crochet crop top pattern. Try my Natalia Crochet Crop Top pattern, where I have used the shell edging. Crochet pattern is available in my ETSY, Ravelry & Love Crochet stores.
Subscribe to get Free Exclusive Crochet Patterns (including a written | photo PDf & access to extra Youtube tutorials) , plus other exclusive patterns!

Congratulations you have made your Crochet Crop Top. I would love to see you crochet creations, please tag me on @moara_crochet on Instagram to share your work.

WANT TO MAKE MY FREE CROCHET CROP TOP?
PIN IT TO YOUR CROCHET OR CRAFT BOARD TO SAVE FOR LATER!


FIND ME ON

FOR MORE FREE CROCHET PATTERNS!


Pingback: How to Make Tassels Step by Step with Moara Crochet
Pingback: 40 Free Crochet Top Patterns For Beginners {2021 Updated}